 Good evening and welcome to the October edition of our NC Demos Blog Hop! We are SO glad you are here! We all have them, bits and pieces of cardstock, DSP and other specialty paper that we just can’t throw out because we are going to need it for a project someday. Well, that day has come with our October theme, Let’s Get Scrappy! Our projects could be ANYTHING, but had to use techniques like Herringbone, Starburst, Bargello, etc…that help us to use all of those scraps and pieces we have.
If you didn’t already do so, be sure to hop all the way around and check out what my friend, Toni Campana, is sharing this month. She is SO creative and always inspires me!
If you have visited my blog before, you may know that I love techniques! I think they are SO
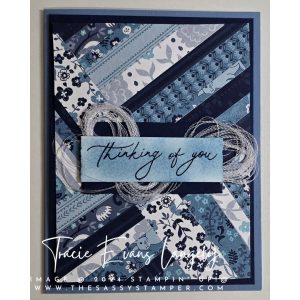
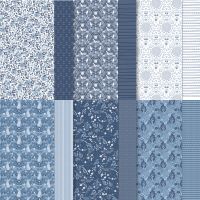
much fun. I think that you can also reinvent them or just use an old favorite with new colors and products and get something fabulous! I started this project by going back to my Terrific Techies hostess club book and found the Herringbone Technique and sample from 2012. This is definitely one of my favorites and it was a perfect use of the scraps of Countryside Inn DSP that I had leftover from a Countless Cards Crafternoon back in the Spring.
Here are the measurements for this project:
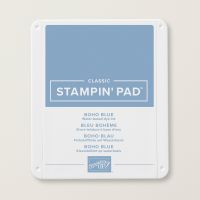
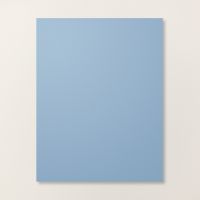
- Boho Blue 8 ½” x 5 ½” and scored at 4 ¼”
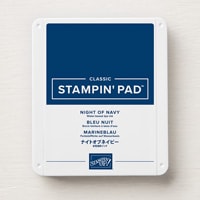
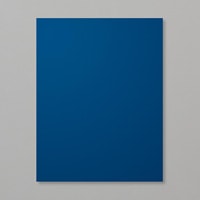
- Night of Navy 4” x 5 ¼” and a scrap
- Basic White 3 ¾” x 5” & a scrap piece
- Countryside Inn DSP anything between 1/4″ and 3/4″ will work. Just use your scraps! No need to actually measure!
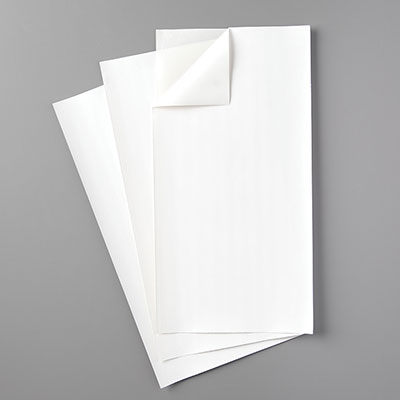
- Adhesive Sheet 4″ x 5 1/4″
Here are the basic directions for the Herringbone Technique.
- Peel off the protective layer of the Adhesive Sheet and place the Basic White cardstock on top of it. Replace the protective layer. Use your Bone Folder or a brayer to smooth the paper and make sure you get an even layer of adhesive onto your cardstock. Remove sticker sheet.
- Take one of the strips of DSP and place it diagonally across the width of your cardstock. You want this piece to be long enough to have some hanging off each end.
- Next, take two more pieces and place them perpendicular to your first piece. These pieces need to be parallel to each other and form
 four quadrants or triangles.
 - Starting at your center piece of DSP, start placing strips of DSP onto your cardstock. You want the pieces to be directly against each other so that none of your base is visible.
- Now just work around the base filling in each of your four quadrants.
- As you finish a quadrant flip the base over and trim off the excess DSP that is hanging over the edges
- When you have covered your entire base trim off all excess DSP from the edges of your base.
- Use the Herringbone Background to complete your project.
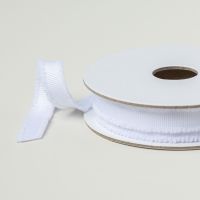
I also used scraps and pieces along with a Blending Brush to create my sentiment piece along with a scrap of Frayed Grossgrain Ribbon from one of our East meets West Creativity Kits. I love a project that let’s you use up all those little bits and pieces!
Thank you SO much for letting me share my project. If you have questions or would like to order any of the products that I used here (or any others) please contact me. I love to chat and help others be creative!

 November Blog Hoppers
Tina Lesson
Jo Anne Hewins
Frances Wagner
Toni Campana
Tracie Evans Langley – the Sassy Stamper
Product List






I love this paper and especially love that your strips are different widths. It gives it such a different look from them being uniformed size. I’ll definitely giving this a try.
Thank you, Toni! I can’t wait to see what you make!
Such a great piecing technique! I love it with that paper, too.
Thank you for sharing (and for organizing the hop!)
Awww. Thank you, Kristine. I am so glad you liked my card and enjoyed this month’s theme.
Tracie, I love your card using the Herringbone Technique. You also used one of my favorite dsp packs. Thanks for sharing with us.
Thank you! I am so glad you like it!
Great card Tracie. That blue and white Countryside Inn paper is just classic! I love the way it looks and your card. Thanks for taking care of all of us!
Awww. Thank you, Jo Anne! I appreciate you!